How to Draw a Lion for Kids
Easy How to Draw a Lion Tutorial and Lion Coloring Page
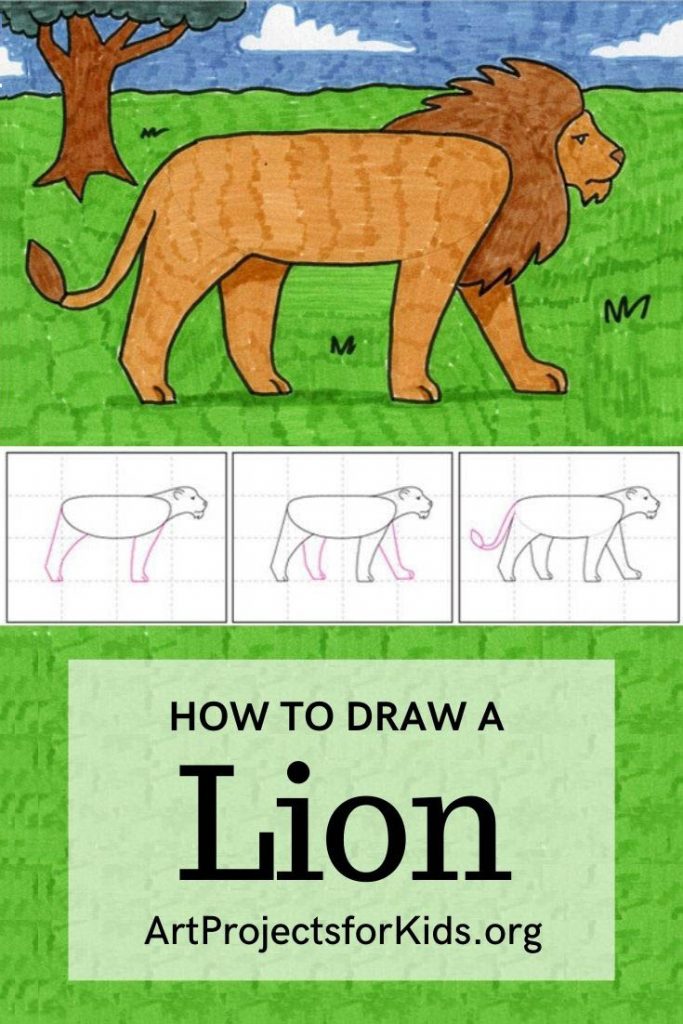
Learning how to draw a lion is easy when you start with a step by step tutorial. This one is made for students that want to draw a lion with a little more realism to him.
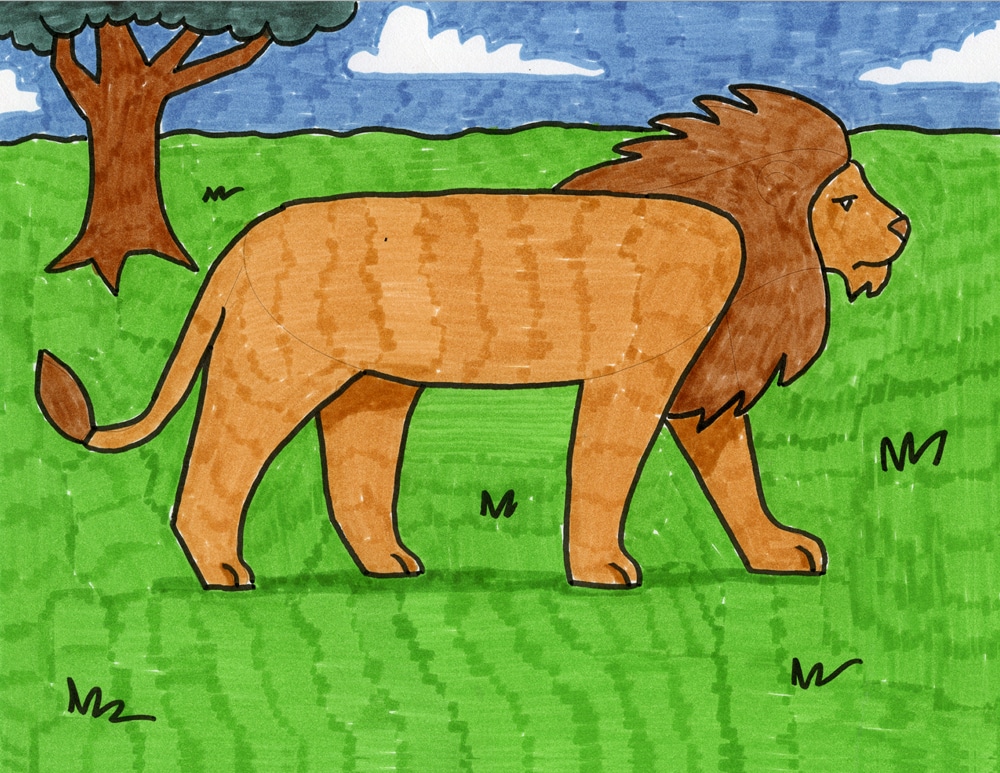
Even though the lion is sometimes referred to as the "king of the jungle," it actually only lives in grasslands and plains. They are large, powerfully built cats that have a long body, large head and short legs. The adult male has a very prominent mane, which actually gets darker as they age.
Students interested in drawing a lion with more detail than say a simple cartoon will find this tutorial helpful. It shows the lion with a side view, so they can easily see the proportion of the long body and shorter legs. The mane is actually the last step to add, so those that want to draw a female could just skip that step, if they choose.
Either way, following these steps will help make a lion drawing that is much more life-like, without dealing with too many details just yet.
Getting Started with Drawing Guides
The best way to get young artists off to a good start to any drawing project is with the help of drawing guides.
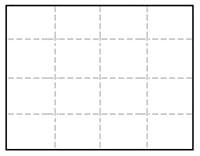
You may have noticed that there is a grid of three dashed lines, both in horizontal and vertical directions, on every step of this tutorial. If students make theirown centered lines on theirown paper, before drawing, they will have an easy reference to follow.
For instance, as seen in Step 1 below, the lion body shape starts with an oval that sits on the middle horizontal line, centered in the middle of the paper.
Drawing skills are all about getting the size and placement of lines on paper, so having some visual reference point to get started, will always help anyone learn how to be a little more accurate.
So does that mean students need to draw a big fat pencil lines one their sheet of paper before they start? Goodness no, please don't! That will most likely be hard to erase and distract from any finished art. No, simply fold the paper in half twice , both ways , make a crease, and unfold. The beauty is that by the time the drawing is done and colored in, the creases made for these guidelines will disappear.
And now, on to our lion drawing project.
Use Button below to Download a PDF Tutorial
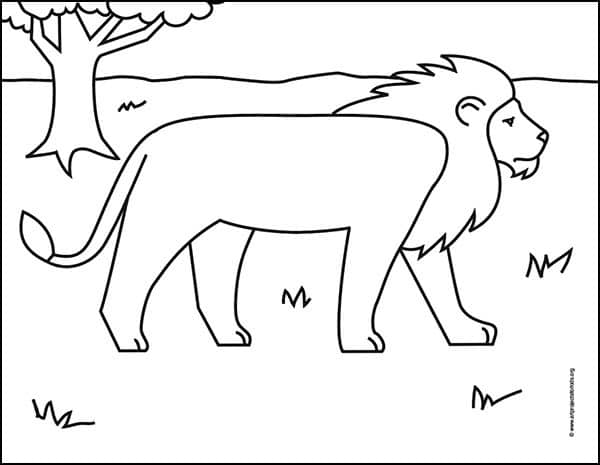
Lion Coloring Page
Materials for How to Draw a Lion
Note: This post contains affiliate links. If you click and take action, I will be compensated a small amount at no expense to you.
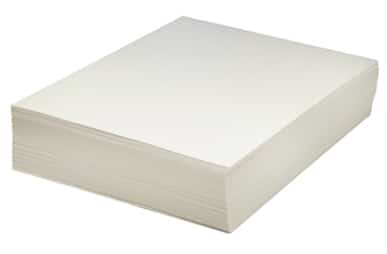
- Drawing Paper. Don't substitute it with copy paper or construction paper. The surface will get fuzzy, erasing might cause holes, and the colors will generally not look as bright.
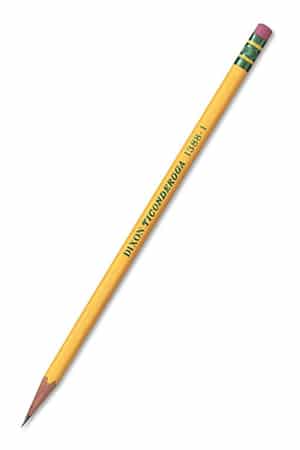
- Pencil. The Ticonderoga brand are the most reliable, make nice dark lines when you need them, and are the easiest to erase.
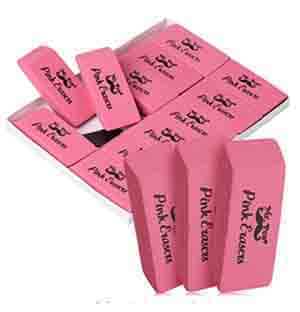
- Eraser. Large ones you can hold in your hand do a much better job than just the pencil tips. Stabilo Markers. They have the best colors, the best tips, and last the longest.
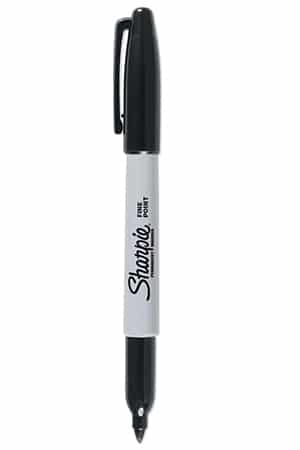
- Black Sharpie Marker. These fine point permanent markers make nice black lines, have a good tip for coloring, and never bleed when they get wet. Use them in areas with good ventilation and add extra paper underneath for table protection.
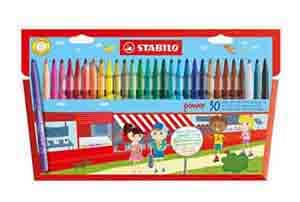
- Stabilo Markers. The large pack provides lots of fun color choices, several shades of each color, including a few choices for skin. The tips are perfect for coloring, and there's even a promise that they will work after being uncapped for 8 weeks!
Step by Step Directions to Draw a Lion
Time needed:1 hour.
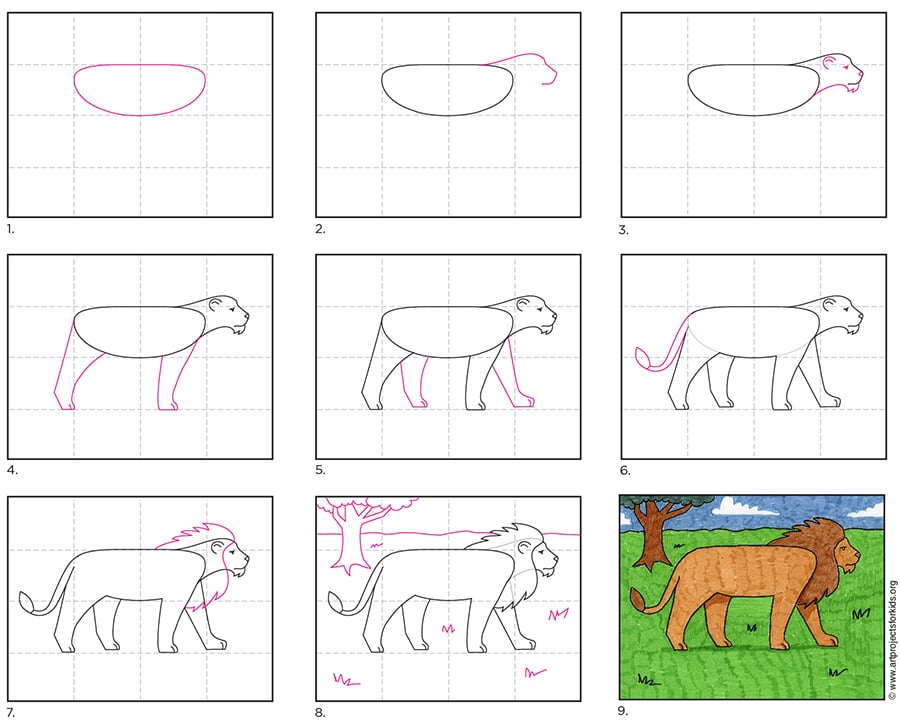
How to Draw a Lion in 9 Easy Steps
- Draw a flattened oval.
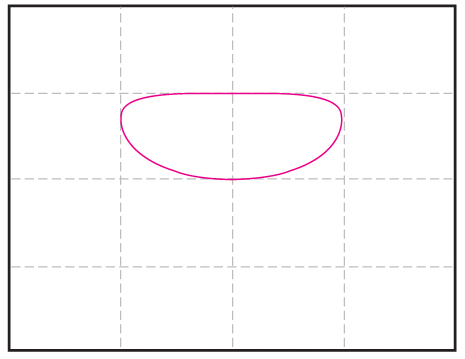
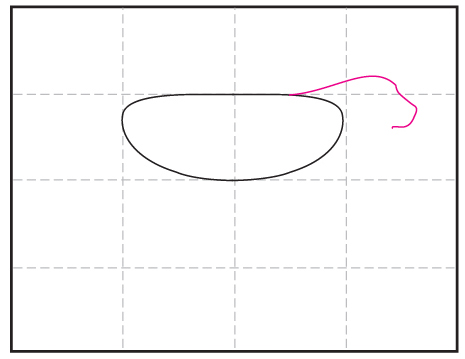
- Start the head on one side.
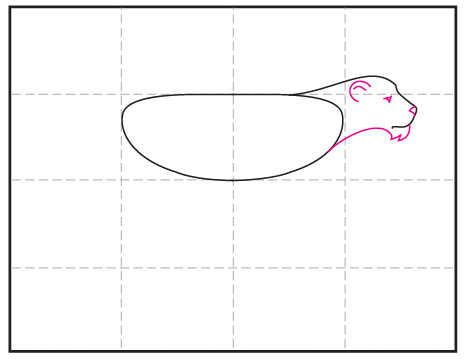
- Finish chin, and eye, nose, ear for female.
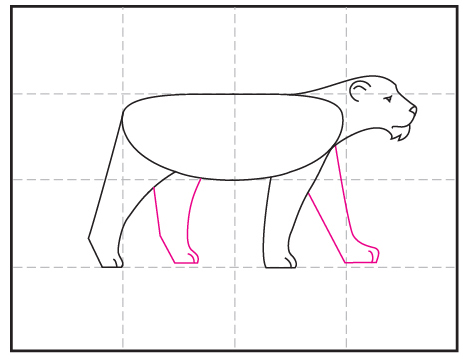
- Draw two legs on the close side.

- Draw two legs on the far side.
-
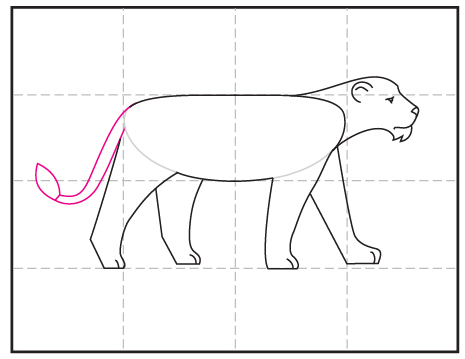
- Draw mane for a male, or skip for female.
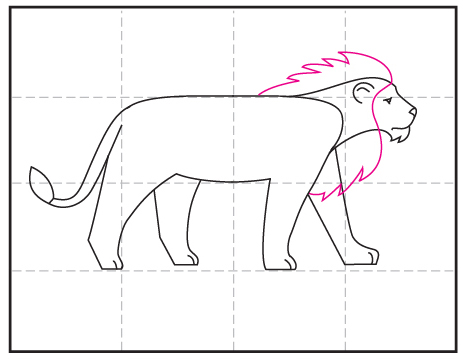
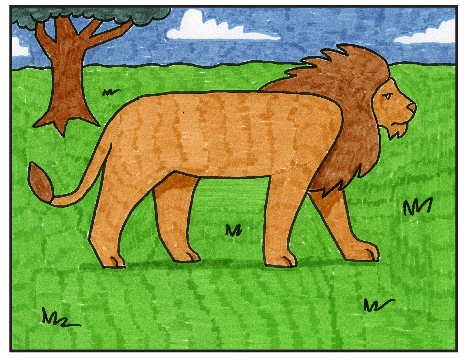
- Erase extra lines, and add background.

- Trace with black marker and color.
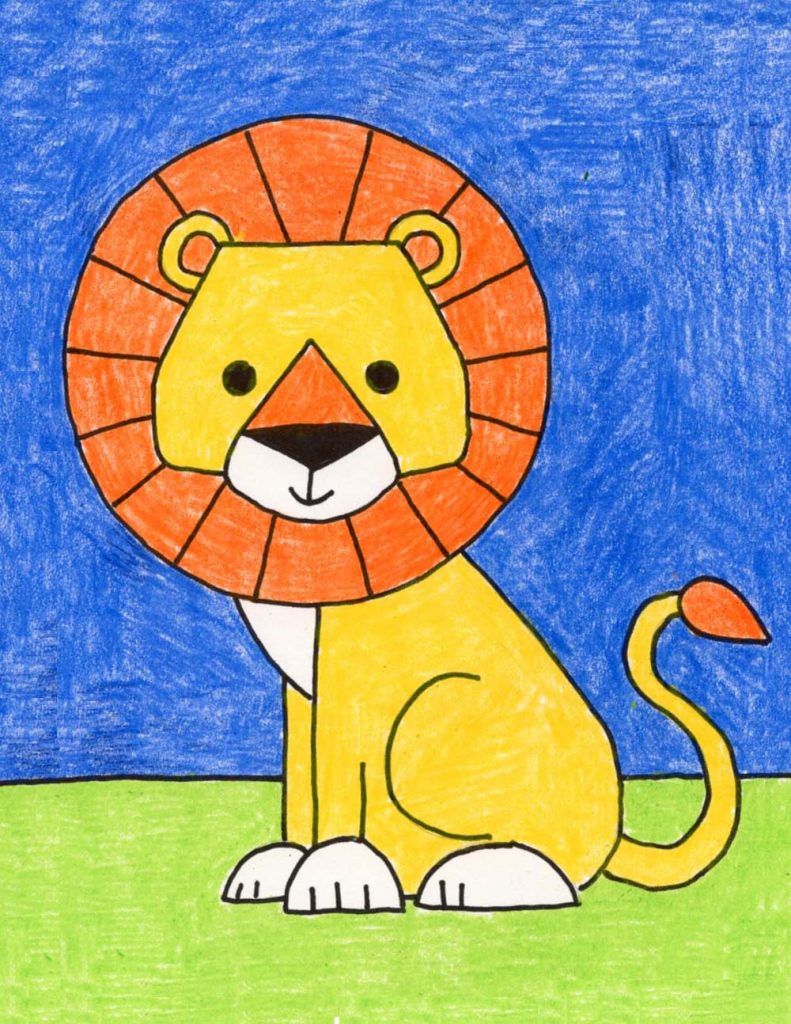
More Fun Lion Drawing Projects

Source: https://artprojectsforkids.org/how-to-draw-a-lion/
0 Response to "How to Draw a Lion for Kids"
Post a Comment